.png)
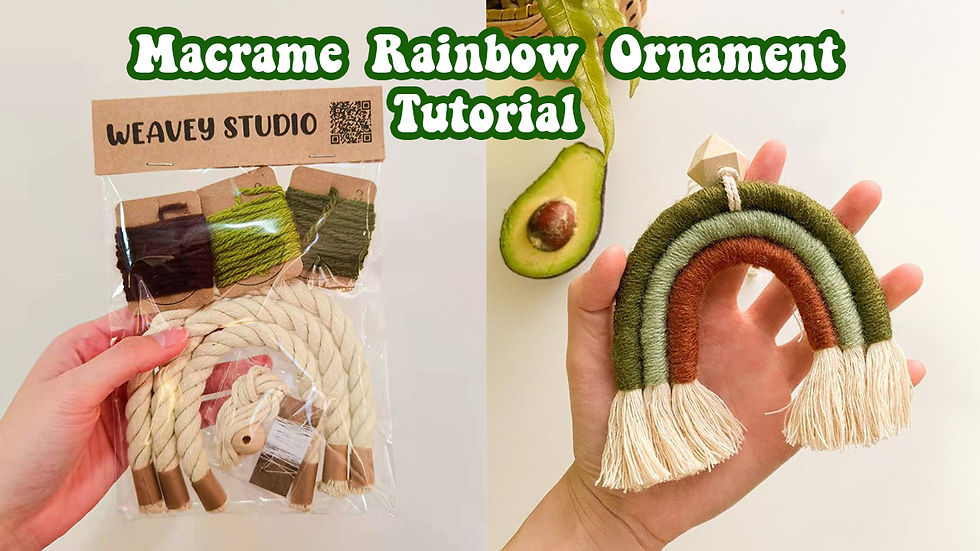
How to make a Macrame Rainbow Wall Hanging?
- Weavey Studio
- Mar 2, 2022
- 4 min read
A Step-By-Step Guide To That Macramé Rainbow Ornament You've Always Wanted To Make

Let’s start with the video tutorial so you get an overview on what I did. Then, I’ll dive in with more details below:
Are you stuck in quarantine or self-isolation? Are the kids home on school holidays, bored and driving you batty?!? Well you have come to the right place! You can DIY most of my macrame creations in the comfort of your own home. This DIY kits come with all the supplies required (macrame cords, bead, hanging cord, metal needle and threads).
Share your work with me on Instagram using hashtag #weaveystudio
Material:

- 3ply Macrame Rope (You can use other thicknesses however this is great for a sturdy full finish)
- 3mm Coloured Twisted Cotton Cord
- Scissors
- A large eye needle / yarn needle, thick enough to thread the chunky yarn through
- a long needle
- a yarn needle / a big eye needle
- Comb
Step 1:
Prepare your fibre materials.
Lay it flat to form the shape of a rainbow prior to cutting to avoid waste.
Once you have your shape, cut into x3 pieces.
We will use the following lengths from outside to inside curve in our rainbow.
- 16cm
- 19cm
- 22cm
3mm Coloured Twisted Cotton Cord
This yarn will wrap around you rope to create a textured effect.
We will use the following lengths from outside to inside curve in our rainbow.
- 150cm
- 210cm
-250cm
You can use any yarn here, if it is thinner than shown you will need to add additional length, if doing so, its advised to work straight from the ball and not snip your lengths.
Fibre Material | Small Curve | to | Large Curve |
Rope | 19cm | 23cm | 27cm |
Yarn | 150cm | 210cm | 250cm |
Begin this project in the easiest possible way- lay the rope out in a rainbow shape. Use some good scissors to cut the rope on the lopes between each arch. The rope is thick so it takes a bit of effort to slice through all the layers.

Step 2:
- Take the fibre materials for your large rainbow curve
- Leave 2cm from the end of your rope and attach your yarn with an overhand knot. Leave the tail facing back towards the rope length.

- Take the macrame cord in your hand and commence wrapping it firmly ‘around and around’ around the rope, on top of the yarn tail, covering it up completely. - For best result, ensure that your wrapping technique is neat and consistent.

- Continue this wrapping technique along the entire length of rope until you come to the end. Leave a 2cm distance of rope visible.
- Put the second arch onto the first arch, and see whether the length is match.

- Thread your macrame cord through the large eye needle. Sew a stitch back through your last wrapping rotation. Repeat this x3 times to secure your yarn in place.
- Now thread the needle and yarn back up under and through your rainbow curve, covering around 3-4cm. This hides and secures your yarn. Snip the remaining tail once complete.
- Take your wrapped curve and gently shape it back to its rainbow shape.
- You may be able to slightly see your initial overhand knot and the snipped tail; this is the back of your piece and will not be on display.
- Now we repeat this action, wrapping all 3 curves. Once complete lay them all together and gently manipulate their resting shape before we sew them together.

Step 3:
Sewing your curves together
- Ensure that you are working on the back of your piece - Take your small curved needle and a length of cotton thread; you will sew every rainbow to its neighbour. Ensure your tension is tight, we wish for the curves to be as close as can be to each other. - If you do not have a curved needle a regular one will be fine, however a curved one works magic here.
Another method is using a hot glue gin or some glue to connect the pieces together.

Step 4:
Finishing your Rainbow.
Take your hanging cord and and bead

Use the yarn needle to put on the hanging cord and bead


Step 5:
Take out the comb and brush out the unwrapped rope that is at the bottom of your rainbow. The fluffier the better!

and cut your prefer length

Ta da! This pretty little rainbow got hung in my main bedroom for the time being (when my shelves are done in my office, it’ll end up there). It is such a happy piece! Wouldn’t it be perfect in a nursery or a playroom?!
Share your work with me on Instagram using hashtag #weaveystudio

This was a really fun project! I loved taking this rainbow wall hanging that was something I’ve long admired and finding a way to make it myself. I’m really happy with how it turned out. Yay for another rainbow addition to my home!

I have another tutorial for making a smaller version of this macrame rainbow. It has a fun additional detail I think you’ll love! It also has the exact measurement for the length of rope and yarn needed.
Comments